
Monstera plants are popular for their unique, large leaves. If you want to propagate them, water rooting is a simple method.
So, how long does Monstera take to root in water? Typically, it takes about 2 to 3 weeks for roots to appear. This time can vary based on conditions like light, temperature, and water quality. Monstera plants are tropical beauties that many plant lovers adore.
When you propagate them, you can create new plants from cuttings. Rooting in water is a fun and easy way to do this. By placing a Monstera cutting in water, you can watch the roots grow before your eyes. This method allows you to monitor the progress and health of the new roots. Now, let’s explore what affects the rooting process and how you can ensure success.
Choosing The Right Cutting
To root a Monstera in water, selecting the right cutting is crucial. The success of rooting largely depends on the health and condition of your chosen cutting. A healthy cutting ensures faster rooting and a healthier plant.
Selecting Healthy Stem
When choosing a cutting, opt for a healthy stem. Look for a firm stem without any signs of rot or disease. A healthy stem should be green and vibrant. Avoid stems that are brown or mushy.
A good cutting should have at least one or two leaves. Leaves help with photosynthesis and provide energy for root development.
Here’s a quick checklist for selecting a healthy stem:
- Green and firm stem
- Free from rot or disease
- One or two healthy leaves
Importance Of Node
A node is the part of the stem where leaves and roots grow. The node is crucial for rooting. Without a node, roots will not develop.
Ensure your cutting has at least one node. The node should be visible and not damaged. Place the node in water, ensuring it is submerged.
To sum up, focus on:
- Choosing a healthy stem
- Ensuring the cutting has a node
- Placing the node in water
This approach will help your Monstera root successfully in water.
Preparing The Cutting
Before rooting a Monstera cutting in water, proper preparation is key. This ensures the cutting has the best chance of developing strong roots. Follow these steps for a successful start.
Trimming Leaves
Begin by trimming the leaves on the cutting. Remove any damaged or large leaves. This reduces water loss and keeps the cutting healthy. Leave one or two small leaves. This helps in photosynthesis.
Making A Clean Cut
Next, make a clean cut below a node. Use sharp, sterilized scissors or a knife. A clean cut promotes quicker rooting. Cut at a 45-degree angle. This increases the surface area for water absorption.
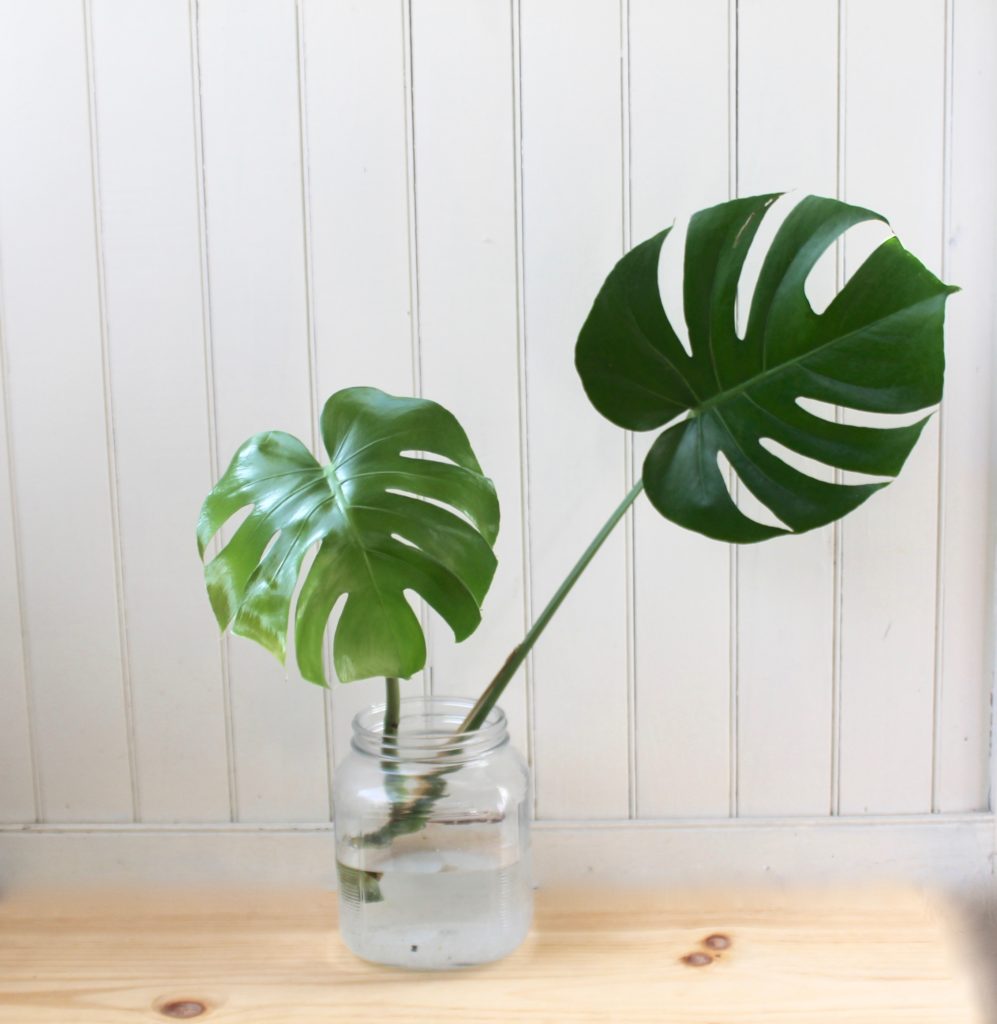
Setting Up The Water Container
Setting up the water container is crucial for rooting your Monstera. The right container and water can make a big difference. Let’s dive into the details to ensure your Monstera thrives.
Choosing The Container
Select a clear glass container. This allows you to see the roots develop. Ensure the container is tall enough to support the cutting. The stem should be submerged in water without touching the bottom. This helps prevent rot.
Water Quality
Use clean, chlorine-free water for your Monstera. Tap water can be used if left out for 24 hours. This allows chlorine to evaporate. Filtered water is another good option. Change the water every week. Fresh water supplies necessary oxygen for root growth.
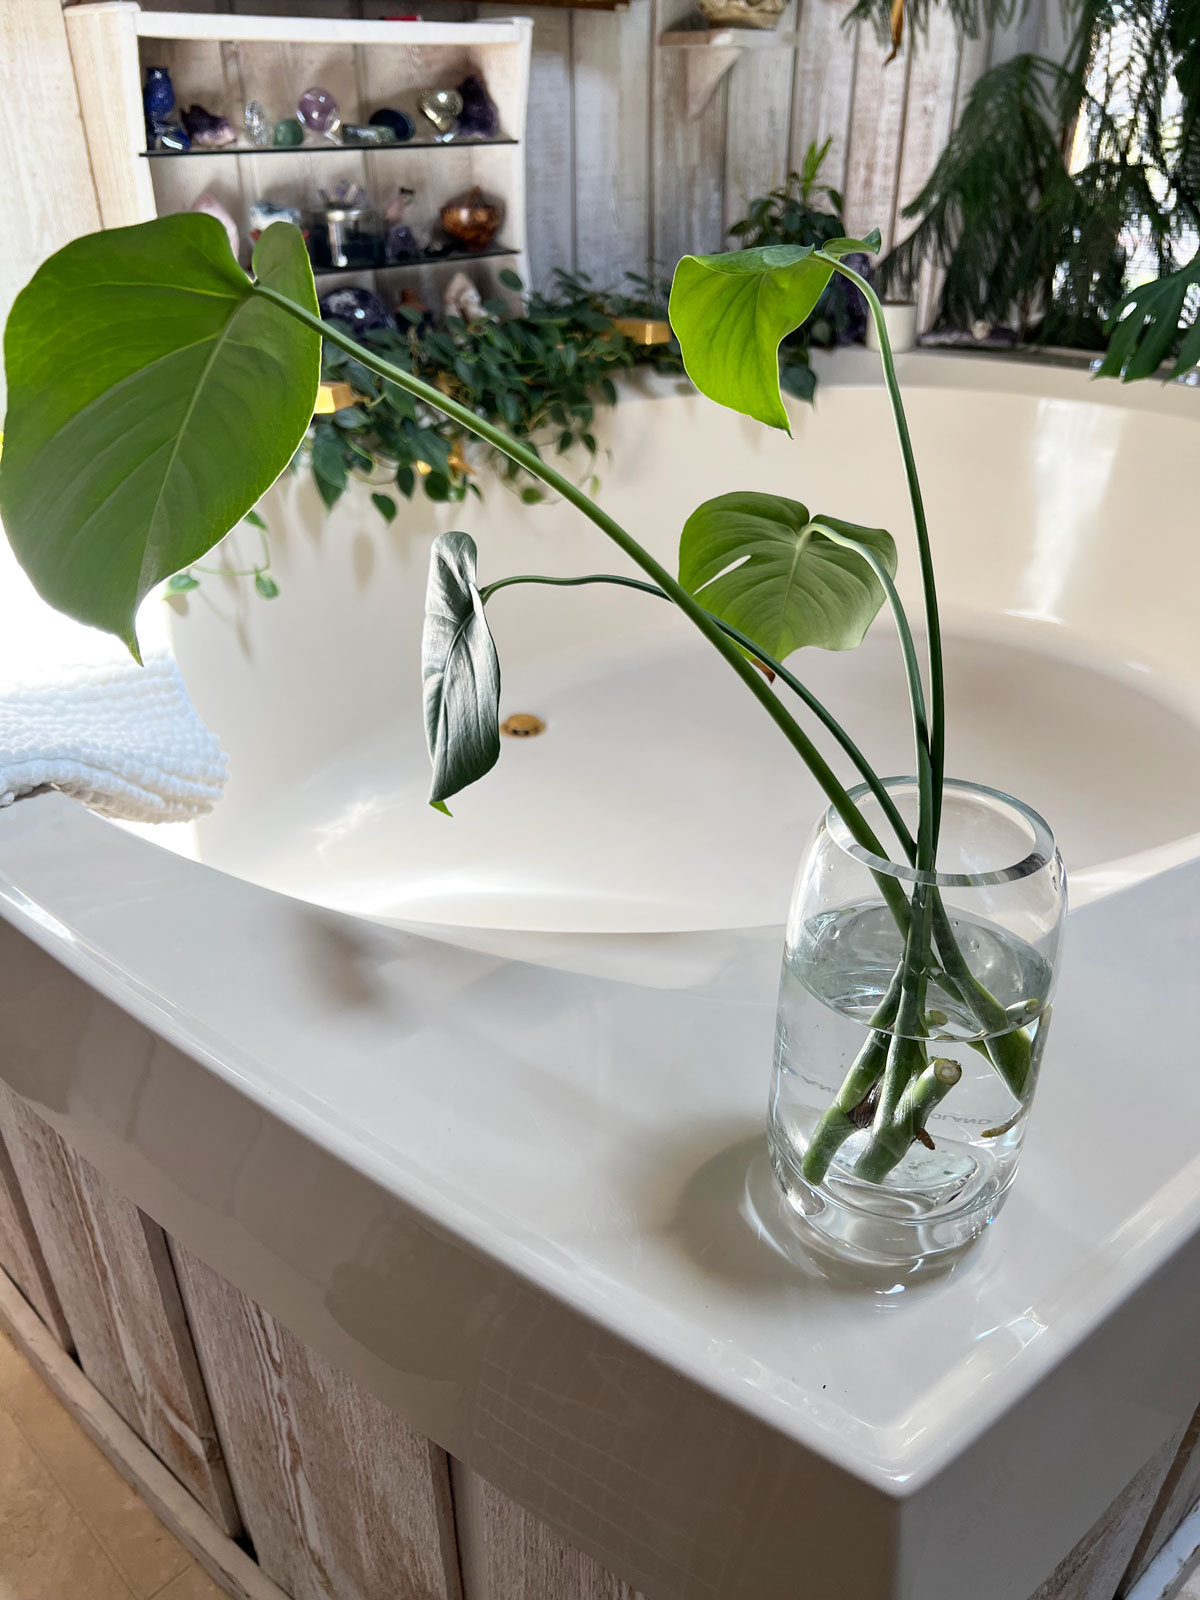
Placing The Cutting In Water
After taking a healthy Monstera cutting, it’s time to place it in water. This step is crucial for ensuring the cutting roots properly. Follow these steps to give your cutting the best chance to thrive.
Submerging The Node
Ensure the node is fully submerged in water. The node is the part where the roots will grow. Cut below the node, leaving about an inch of stem. Remove any leaves that might touch the water. This prevents rot and keeps the water clean.
| Step | Action |
|---|---|
| 1 | Cut below the node |
| 2 | Submerge the node in water |
| 3 | Remove any leaves touching water |
Positioning For Light
Place the jar in a spot with bright, indirect light. Direct sunlight can scorch the cutting. Indirect light helps the cutting grow without damage. Avoid placing it in dark corners. Light is essential for root development.
- Choose a bright spot
- Avoid direct sunlight
- Ensure the area is not too dark
Check the water level regularly. Keep the node submerged. Change the water every week. This keeps the cutting healthy and prevents stagnation.
- Check water level weekly
- Keep node submerged
- Change water regularly
By following these steps, your Monstera cutting will root successfully. Patience is key. Roots can take a few weeks to develop. Keep the cutting in optimal conditions, and you’ll soon see new growth.
Care During Rooting
Caring for your Monstera during the rooting process is crucial. Proper care ensures healthy root development. This section will guide you through the necessary steps.
Changing The Water
Change the water in your container every week. Fresh water provides essential oxygen. It also prevents bacterial growth. Use room temperature water for the best results. Avoid using chlorinated water. Let tap water sit for 24 hours before using it.
Monitoring Growth
Check the roots for growth every few days. Healthy roots are white and firm. Brown or mushy roots indicate problems. Trim any unhealthy roots with clean scissors. Ensure the water level covers the nodes. This promotes consistent root growth. Keep the container in indirect sunlight. Too much sun can harm the roots.
Timeline For Root Development
Monstera plants are popular for their beautiful leaves. Many plant enthusiasts want to grow them in water. Understanding the timeline for root development is crucial. This will help you know what to expect and how to care for the plant.
Initial Signs Of Rooting
The first signs of rooting usually appear within a week. You might see small bumps on the stem. These are the beginnings of roots. Keep the water clean to support healthy root growth.
Expected Time Frame
Monstera cuttings typically develop roots in 3-4 weeks. During this period, roots will grow longer and stronger. By 6-8 weeks, the plant should have a good root system. This means it is ready for planting in soil.
Transferring To Soil
Transferring your Monstera from water to soil is a key step. It ensures the plant thrives in a new environment. The process can seem tricky, but with the right steps, your Monstera will grow strong roots in soil.
When To Transfer
Wait until roots are at least 2 inches long. This usually takes about 4-6 weeks. Ensure the roots are white and healthy. This will give your Monstera the best start in soil.
Steps For Successful Transfer
First, prepare a pot with drainage holes. Fill it with well-draining soil. A mix of peat, perlite, and bark works well.
Next, gently remove the Monstera from water. Be careful not to damage the roots. Rinse the roots to remove any debris.
Create a hole in the soil for the roots. Place the plant in the hole and cover the roots with soil. Press the soil gently to secure the plant.
Water the soil until it is moist but not soggy. Place the pot in a spot with bright, indirect light. Avoid direct sunlight as it can harm the plant.
Monitor the plant over the next few weeks. Keep the soil consistently moist. New growth will show the plant has adjusted well.
Common Issues And Solutions
Growing a Monstera in water can be fun and rewarding. Yet, it sometimes comes with a few common issues. Knowing these issues and their solutions can make your plant thrive. Let’s explore some of the frequent problems you might face.
Yellowing Leaves
Yellowing leaves on a Monstera can worry any plant lover. This issue often points to improper lighting. Monstera plants need bright, indirect light. Too much direct sunlight can burn the leaves.
Another cause could be nutrient deficiency. Plants in water may lack essential nutrients. Adding a balanced liquid fertilizer can help. Be sure to follow the instructions on the label.
Water quality matters too. Tap water with chlorine and fluoride can harm your plant. Use filtered or rainwater if possible.
Fungal Growth
Fungal growth in water can affect Monstera roots. This growth is often due to stagnant water. Change the water every week to keep it fresh.
Clean the container regularly to remove any residue. Ensure it is clean before refilling it with fresh water. This reduces the risk of fungi.
You can also use a drop of hydrogen peroxide in the water. This helps to kill fungi and keeps the water clean. Be careful not to use too much, as it can harm the plant.
Keep the container in a well-ventilated area. Good airflow reduces the chance of fungal growth. It also helps the plant breathe better.
Frequently Asked Questions
How Long Does Monstera Take To Root In Water?
Monstera typically takes 2-3 weeks to root in water. The process can vary depending on the conditions. Ensure the water is clean and change it weekly to promote healthy root growth.
What Are The Best Conditions For Monstera Rooting?
Monstera roots best in a warm, bright location with indirect light. Make sure to keep the water clean and change it weekly to prevent rot.
Can Monstera Root In Tap Water?
Yes, Monstera can root in tap water. However, it’s best to let the water sit for 24 hours to allow chlorine to evaporate.
How Often Should I Change The Water?
Change the water once a week. This prevents bacteria buildup and keeps the cutting healthy, promoting root growth.
Conclusion
Rooting a Monstera in water is a simple, enjoyable process. Typically, it takes 2-4 weeks for roots to appear. Keep the water clean and change it weekly. Provide indirect sunlight to support growth. With patience and care, your Monstera will thrive.
Enjoy watching your plant grow and flourish. Happy gardening!
Leave a Reply