Best Way to Repot Monstera: Expert Tips and Tricks
Repotting your Monstera plant can seem challenging. But it doesn’t have to be difficult.
Monstera plants are popular for their stunning leaves and easy care. Over time, your Monstera will outgrow its pot. Repotting is essential to ensure it continues to thrive. This process can help your plant grow stronger and healthier. In this guide, we will explore the best way to repot your Monstera.
We’ll cover everything you need to know for a smooth transition. From choosing the right soil to proper watering techniques, get ready to give your Monstera the care it deserves. Let’s get started on the journey to a happier, healthier plant.

Choosing The Right Pot
Repotting your Monstera is an exciting task. It can help the plant grow strong and healthy. The first step in this process is choosing the right pot. This decision can make a huge difference. Let’s break it down into two key aspects: size and material.
Size Matters
The size of the pot is very important. Monstera plants need room to grow. A pot that is too small can restrict growth. But, a pot that is too large can lead to overwatering. A pot that is 2-4 inches larger in diameter than the current pot is ideal.
| Pot Size | Plant Size |
|---|---|
| 6-8 inches | Small Monstera |
| 10-12 inches | Medium Monstera |
| 14 inches or more | Large Monstera |
Material Options
The material of the pot also matters. Different materials offer different benefits. Here are some common options:
- Terracotta: This material is breathable. It helps the soil dry out faster, which can prevent root rot.
- Plastic: These pots are light and inexpensive. They retain moisture well, which is good for plants that need more water.
- Ceramic: These pots are often decorative. They are heavier and can provide stability to larger plants.
Choosing the right pot is not just about looks. It can affect the health and growth of your Monstera. Consider both size and material to give your plant the best chance to thrive.
Preparing The Potting Mix
Ensuring your Monstera has the right potting mix is crucial for its health. A well-prepared soil mix provides proper aeration, drainage, and nutrients. Let’s dive into the components needed for the ideal potting mix.
Ideal Soil Composition
The best soil for Monstera should be light and well-draining. A combination of peat moss, perlite, and pine bark works well.
- Peat moss: Helps retain moisture while providing aeration.
- Perlite: Enhances drainage and prevents soil compaction.
- Pine bark: Adds structure and improves aeration.
Mix these components in equal parts to create a balanced soil mix. This ensures your Monstera’s roots can breathe and grow efficiently.
Adding Nutrients
Monstera plants need nutrients to thrive. Adding organic matter to your potting mix can provide essential nutrients.
Consider using:
- Compost: Adds vital nutrients and improves soil structure.
- Worm castings: Rich in nutrients and beneficial microorganisms.
Mix a small amount of these organic materials into your soil mix. This will give your Monstera a nutrient boost and promote healthy growth.
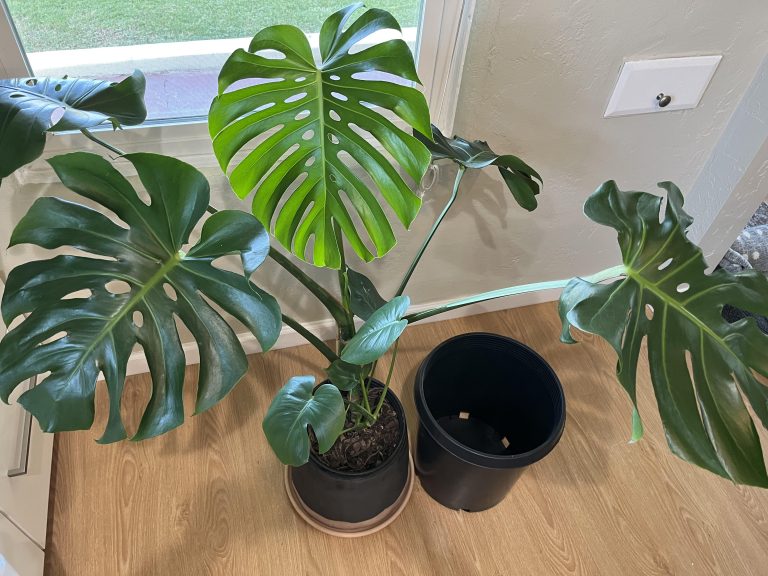
When To Repot Your Monstera
Repot your Monstera when roots start peeking out of the drainage holes. Ensure you choose a pot one size larger. Use well-draining soil to promote healthy growth.
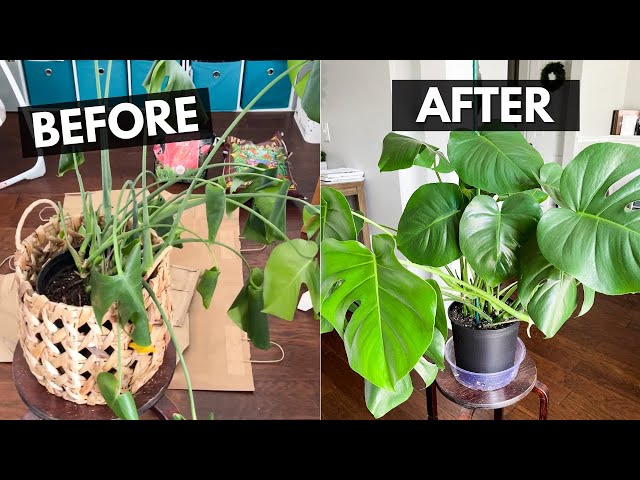
Repotting your Monstera is crucial for its health. Knowing the right time can help it thrive. Repotting provides fresh soil and more space for roots. This section will guide you on the best time to repot your Monstera.Signs It’s Time
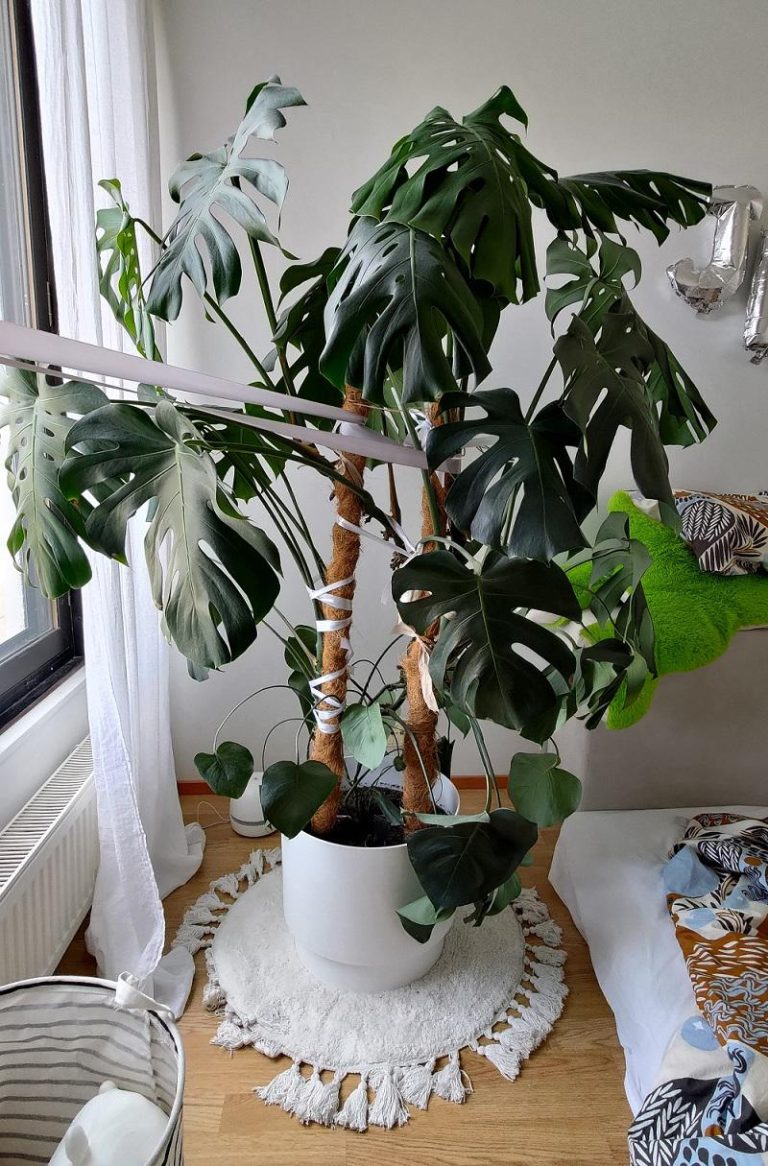
Look for roots growing out of the drainage holes. This means your Monstera needs more space. Another sign is yellowing leaves. This can indicate poor soil quality. Also, check if the plant looks top-heavy. This suggests the pot is too small.Seasonal Considerations
Spring is the best season to repot your Monstera. During this time, the plant is in its growth phase. Repotting in spring helps it recover quickly. Avoid repotting in winter. The plant is dormant and may not handle the stress well. “`
Removing The Monstera From Its Current Pot
Repotting a Monstera can seem tricky, but it’s important for plant health. Removing the Monstera from its current pot is a crucial step. This ensures the plant adapts well to its new home. Follow these simple steps to remove your Monstera safely.
Loosening The Roots
Start by loosening the soil around the roots. You can use a small garden trowel or your hands. Be gentle to avoid damaging the roots. If the soil is compacted, water it lightly. This helps to soften the soil, making it easier to work with.
| Step | Description |
|---|---|
| 1 | Loosen the soil with a trowel or your hands. |
| 2 | Water the soil lightly if it is compacted. |
Handling With Care
Once the soil is loose, tilt the pot slightly. Hold the base of the Monstera stem. Gently pull the plant out of the pot. Be cautious not to pull too hard. You don’t want to damage the roots or the stem.
If the plant resists, tap the sides of the pot. This can help release the roots. It might take a few tries, but patience is key.
- Hold the Monstera base firmly.
- Gently pull the plant out.
- Tap the pot sides if needed.
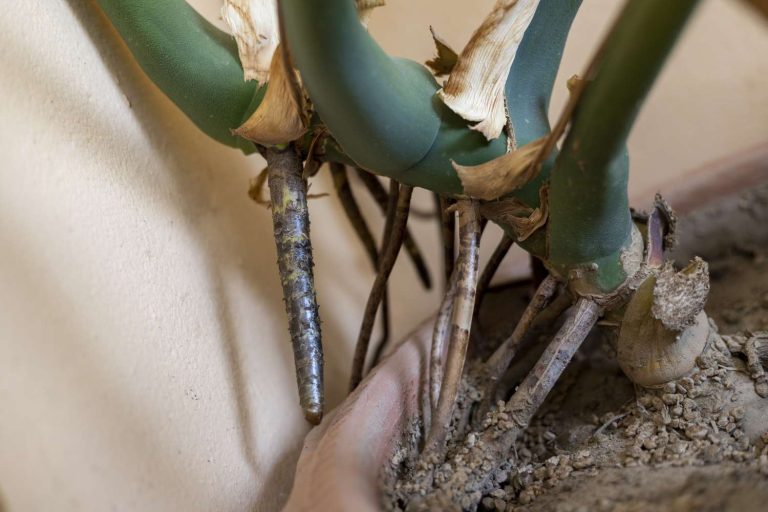
After removing the Monstera, inspect the roots. Healthy roots are white or light brown. Trim any black or mushy roots. This ensures your Monstera stays healthy in its new pot.
Placing The Monstera In The New Pot
Repotting a Monstera can seem daunting. With the right steps, it becomes easy. This guide helps you place your Monstera in its new pot. Follow these steps to ensure a healthy transition.
Positioning The Plant
Start by gently removing the Monstera from its old pot. Hold the base and lift carefully. Shake off any excess soil. Check the roots for any damage. Trim any dead or rotting roots. Place the Monstera in the center of the new pot. Make sure it stands upright. Adjust the roots to spread evenly.
Filling With Soil
Once the plant is in position, begin adding soil. Use a well-draining potting mix. Fill the pot halfway with soil. Hold the plant steady as you fill. Continue adding soil around the roots. Press the soil gently to eliminate air pockets. Leave some space at the top for watering. Water the plant thoroughly after repotting. This helps settle the soil around the roots.
Watering After Repotting
Repotting a Monstera can be a thrilling experience. But, ensuring proper watering after repotting is crucial. This process helps the plant settle into its new home and reduces stress. Let’s explore the best watering practices after repotting your Monstera.
First Watering
After repotting, give your Monstera a thorough watering. This helps the roots settle into the new soil. Make sure the water drains well. Check the bottom of the pot for excess water.
Wait until the soil is just moist. Avoid soaking the plant. Overwatering can harm the newly repotted Monstera. Monitor the soil’s moisture level closely during the first few days.
Ongoing Watering Schedule
After the initial watering, establish a regular schedule. Water your Monstera once the top inch of soil feels dry. This usually means watering once a week. Adjust based on your home’s humidity and temperature.
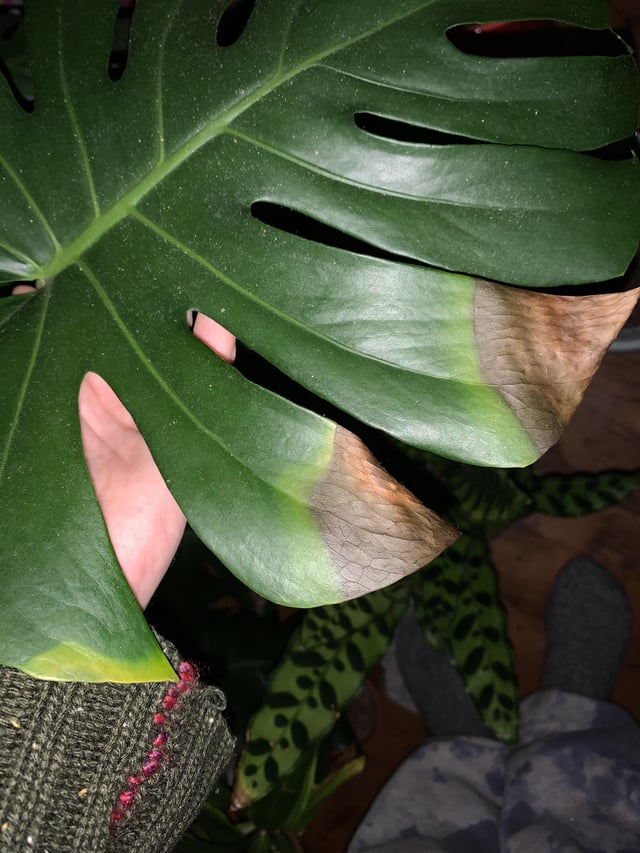
Keep a close eye on the plant. Yellowing leaves can indicate overwatering. Conversely, dry, brown leaf edges suggest underwatering. Finding the right balance is key for a healthy Monstera.
Post-repotting Care
Repotting a Monstera plant is an exciting task. But, the real care begins after repotting. To ensure your plant thrives, focus on its needs. Proper post-repotting care can make all the difference in its growth and health.
Light Requirements
Monstera plants prefer bright, indirect light. Place your plant near a window with filtered sunlight. Avoid direct sunlight as it can scorch the leaves. If natural light is limited, consider using grow lights. These can help provide the necessary light levels. Remember, too much light can harm your Monstera.
Humidity Levels
Monstera plants love high humidity. Aim for a humidity level around 60-70%. Use a humidifier to maintain consistent levels. Misting the leaves can also help. But, don’t overdo it. Excess moisture can lead to mold or fungus. A humidity tray can be a good alternative. Fill a tray with water and pebbles. Place the pot on top of the pebbles. This setup increases humidity around the plant.
Common Repotting Mistakes
Repotting a Monstera can be a rewarding experience. But, it’s easy to make mistakes. Here are some common repotting mistakes to avoid. This will ensure your Monstera thrives and grows healthy.
Overwatering
Overwatering is a common mistake. Too much water can harm your Monstera. It can lead to root rot. This makes the plant unhealthy. Always check the soil before watering.
Here are some tips to avoid overwatering:
- Water only when the top inch of soil is dry.
- Use a pot with drainage holes.
- Empty the saucer under the pot after watering.
Using The Wrong Soil
Using the wrong soil can also be a problem. Monstera plants need well-draining soil. Regular garden soil is not suitable. It retains too much water.
Consider these soil options:
- Use a mix of peat moss, perlite, and bark.
- Add some sand for extra drainage.
- Avoid heavy, compact soils.
Using the right soil helps prevent root rot. It also ensures proper nutrient absorption. Your Monstera will thank you for it!
:max_bytes(150000):strip_icc()/repotting-monstera-535a30f664c445d39569683ff62986d1.jpg)
Frequently Asked Questions
How Often Should You Repot Monstera?
Repot Monstera every 1-2 years. This helps accommodate its growing roots and provides fresh soil. Spring is the best time.
What Soil Is Best For Monstera?
Use a well-draining potting mix with peat, pine bark, and perlite. This mixture supports healthy root growth.
What Size Pot For Repotting Monstera?
Choose a pot 2 inches larger than the current one. This allows room for growth without overwhelming the plant.
Do Monsteras Need Drainage Holes?
Yes, drainage holes are essential. They prevent waterlogging and root rot by allowing excess water to escape.
Conclusion
Repotting your Monstera can be simple and rewarding. Follow the steps shared. Your plant will thrive in its new pot. Fresh soil provides essential nutrients. Choose a pot with good drainage. Handle the roots with care. Enjoy watching your Monstera grow strong and healthy.
Happy gardening!