
Drawing a Monstera plant can be a delightful experience. This step-by-step guide will help you create a beautiful Monstera illustration.
Monstera plants, with their unique and striking leaves, are popular among artists. Their distinctive patterns and shapes make them a fun subject to draw. In this guide, we will break down the drawing process into easy steps. You don’t need to be an expert artist to follow along.
With a bit of patience and practice, you can create a stunning Monstera drawing. Whether you’re a beginner or looking to improve your skills, this guide will provide clear instructions. Get your pencils ready, and let’s start drawing!

Introduction To Monstera Drawing
Monstera plants have gained immense popularity recently. Their unique leaf shapes and vibrant green color make them a favorite among plant lovers and artists alike. Drawing a Monstera can be a fun and rewarding experience. It allows you to capture the beauty of nature on paper. With some simple steps, you can create your own beautiful Monstera drawing.
Why Draw Monstera?
Drawing Monstera plants can be relaxing. It helps improve your observation skills. The intricate leaf patterns challenge your creativity. It can also be a great way to practice shading and texture. If you love nature, you will enjoy capturing its beauty.
Materials Needed
Before starting your Monstera drawing, gather your materials. You will need paper and pencils. Different pencil grades will help achieve various shading effects. An eraser is useful for corrections. You might also want to use a ruler for precise lines. Colored pencils or markers can add a vibrant touch.
Setting Up Your Workspace
Creating the perfect drawing of a Monstera plant starts with setting up your workspace. A good setup helps you stay focused and comfortable. It ensures you have everything you need at your fingertips.
Choosing The Right Space
First, find a quiet and well-lit spot. Natural light works best, but a good lamp can also do the trick. Make sure your space is free from distractions. This helps you concentrate on your drawing.
A comfortable chair and table are important. You don’t want to strain your back or neck. Keep your drawing area clean and tidy. A clutter-free space boosts creativity.
Organizing Your Tools
Next, gather all the tools you will need. You will need pencils, erasers, and paper. Keep them within easy reach. This saves time and keeps you in the flow of drawing.
Consider using a drawing board. It provides a solid surface and can be angled for better comfort. Sharpen your pencils before you start. A sharp pencil gives you better control.
Lastly, have a reference image of a Monstera plant nearby. This helps you capture the details accurately. You can print a picture or use a tablet to display it.
Sketching The Basic Outline
Creating a Monstera drawing can be fun and simple. The first step is to sketch the basic outline. This sets the foundation for your detailed artwork. Follow these easy steps to get started.
Starting With Simple Shapes
Begin with simple shapes to outline your Monstera. Draw a large oval for the main leaf. This will be the base shape. Then, add a smaller circle at the top. This represents the leaf’s stem attachment point.
Next, sketch a few curved lines extending from the circle to the oval. These lines will guide the leaf’s natural curves. Remember to keep your lines light. They will be refined later.
| Step | Description |
|---|---|
| 1 | Draw a large oval for the leaf. |
| 2 | Add a smaller circle at the top for the stem. |
| 3 | Sketch curved lines from the circle to the oval. |
Refining The Outline
Now, refine the basic shapes into a more detailed outline. Begin by defining the leaf’s edges. Use the curved lines as guides. Draw more precise lines, making the leaf look natural.
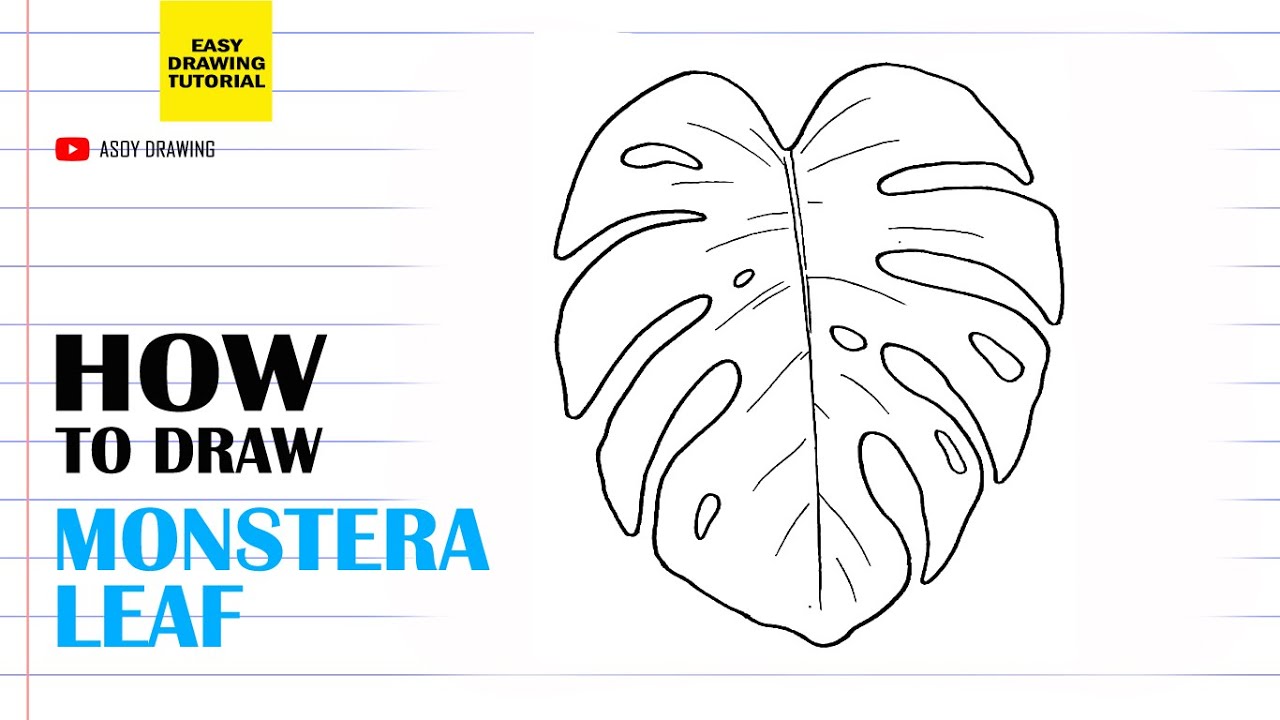
Add the iconic Monstera splits and holes. These features give the leaf its unique look. Draw smaller ovals and lines within the main leaf shape. Make sure they follow the natural curves.
Lastly, erase any unnecessary lines. Your Monstera outline should now look clear and structured. This refined outline will make the next steps easier.
- Define the leaf’s edges using curved lines.
- Add splits and holes to the leaf.
- Erase extra lines for a clean outline.
Adding Details To The Leaves
Adding details to the leaves brings your Monstera drawing to life. These details make your artwork look realistic and engaging. Focus on the veins and edges of the leaves. Both elements are crucial for a lifelike appearance. Let’s dive into these details step by step.
Drawing Leaf Veins
Start with the main vein. Draw it from the stem to the tip of the leaf. Ensure it follows the natural curve of the leaf. Next, add secondary veins branching out from the main vein. These should extend towards the edges. Make them slightly curved and uneven. This adds to the natural look. Use light, gentle strokes. Avoid straight lines. Real leaves have a mix of curves and slight waves. Observe real Monstera leaves for reference. Notice how veins are not perfectly symmetrical.
Creating Natural Edges
Monstera leaves have unique, split edges. Begin by outlining the main shape of the leaf. Then, add the splits and holes. These should be irregular and varied in size. Avoid making them too uniform. Natural leaves have random patterns. Use soft, wavy lines for the edges. This mimics the natural texture. Lightly shade around the splits. This adds depth and dimension. Observe real leaves to capture their unique look. Remember, imperfections make your drawing more realistic.
Shading Techniques
Shading brings life to your Monstera drawing. It adds depth and realism. Understanding and applying shading techniques is essential. This section will guide you step by step.
Understanding Light Source
The light source is crucial in shading. Identify where the light is coming from. This helps in deciding where shadows fall. Light areas will be on the opposite side of the shadows. Consistency is key.
Start by lightly sketching the light source. Then, observe how light interacts with your Monstera leaves. Notice how some parts are brighter, while others are darker. This observation is the foundation of effective shading.
Blending For Depth
Blending creates smooth transitions between light and dark. Use a blending tool or your finger. Gently rub the shaded areas to soften them. This gives a more natural look.
Pay attention to the edges of the leaves. Some edges may need more blending. Others may need sharp contrasts. This variety adds depth to your drawing. Experiment with different pressures for varied effects.
Remember, practice makes perfect. The more you blend, the better you get. Keep refining your technique for stunning Monstera drawings.

Incorporating Textures
Adding textures to your Monstera drawing brings it to life. Textures make the leaves look real and detailed. In this section, we will explore techniques to simulate leaf patterns and use different strokes. These methods will add depth and character to your artwork.
Simulating Leaf Patterns
Monstera leaves have unique patterns with holes and splits. To simulate these patterns, start by observing real Monstera leaves. Notice the placement of holes and splits.
Use a light pencil to outline these patterns on your drawing. This helps in getting the structure right. For the holes, draw irregular oval shapes. For splits, draw lines that follow the natural curve of the leaf.
You can also use shading to enhance the textures. Darken the areas around the holes and splits. This adds depth and makes the leaf look more realistic.
Using Different Strokes
The type of strokes you use can affect the texture of your drawing. Experiment with different strokes to see what works best.
Hatching: Use parallel lines to create texture. This technique works well for shading and adding depth.
Cross-Hatching: Use intersecting lines for a denser texture. This is great for darker areas of the leaf.
Stippling: Use small dots to create texture. This technique is perfect for subtle shading and adding details.
Curved Strokes: Follow the natural curves of the leaf with your strokes. This makes the leaf look more organic.
Practicing these strokes on a separate sheet can help you master them. You can then apply them to your Monstera drawing with confidence.
| Stroke Type | Purpose |
|---|---|
| Hatching | Basic shading and depth |
| Cross-Hatching | Darker shading, more texture |
| Stippling | Subtle shading, details |
| Curved Strokes | Natural look, follows leaf curves |
Combining these techniques will bring your Monstera drawing to the next level. Remember, practice makes perfect. Keep experimenting with different strokes and patterns.
Final Touches
You’ve made it to the final stage of your Monstera drawing. These last steps will bring your artwork to life. Focus on refining details and ensuring your drawing looks polished.
Enhancing With Highlights
Start by adding highlights to the leaves. Use a white or light-colored pencil. Focus on areas where light naturally hits the leaves. This will give your drawing depth and a realistic look. Small, gentle strokes work best for highlights.
Pay attention to the curves and edges of the leaves. Highlighting these areas will make your Monstera drawing pop. Don’t overdo it. Less is often more with highlights.
Correcting Mistakes
Mistakes happen. Use an eraser to clean up any unwanted marks. Lightly erase to avoid damaging the paper. Correcting mistakes can make a big difference in the final look.
Check for any lines that look too harsh. Soften these with a blending tool or your finger. This will help your drawing look smoother and more natural.
Lastly, step back and look at your drawing. Sometimes, viewing from a distance helps spot areas needing adjustment. Make final tweaks to ensure your Monstera drawing is as perfect as possible.
Displaying Your Artwork
After completing your beautiful Monstera drawing, it’s time to showcase it. Displaying your artwork properly enhances its beauty and makes it a centerpiece. Follow these tips for choosing the right frame and finding the perfect spot to hang it.
Choosing A Frame
Selecting the right frame can make a big difference. Here are some tips:
- Material: Wood and metal frames are popular choices.
- Color: Neutral colors like black, white, or wood tones work well.
- Style: Consider the room’s decor and your personal taste.
- Size: Ensure the frame fits your drawing perfectly.
Choosing a frame that complements your Monstera drawing will highlight its details. A well-chosen frame can elevate your artwork’s appearance.
Finding The Perfect Spot
Where you hang your artwork is crucial. Consider these points:
- Lighting: Good lighting enhances the artwork’s colors and details. Natural light is ideal but avoid direct sunlight to prevent fading.
- Height: Hang your artwork at eye level. This makes it easy to view and appreciate.
- Surroundings: Choose a spot where the artwork stands out. Avoid cluttered areas to keep the focus on your drawing.
- Room Use: Consider the room’s purpose. Artwork in living rooms, bedrooms, or offices can create a pleasant atmosphere.
Finding the right spot ensures your Monstera drawing gets the attention it deserves. Consider lighting, height, surroundings, and room use when choosing.
Frequently Asked Questions
How Do You Draw A Monstera Leaf Easily?
Start by sketching the outline of the leaf with its distinctive splits. Add details like veins and refine the shape. Use light and dark shades to give it depth.
What Materials Do I Need For Monstera Drawing?
You will need paper, pencils, erasers, and colored pencils or markers. A fine-tip pen can help with outlining details.
Can Beginners Draw Monstera Leaves?
Yes, beginners can draw Monstera leaves. Start with simple shapes and gradually add details. Practice will improve your skills.
How Long Does It Take To Draw A Monstera?
It usually takes about 30 minutes to an hour, depending on the level of detail. Take your time to get the best results.
Conclusion
Creating a Monstera drawing step by step is fun and easy. Follow the outlined steps, practice, and soon your skills will improve. Each stage of drawing helps you grow as an artist. The Monstera plant’s leaves make a beautiful subject.
Enjoy the process and embrace your creativity. Remember, practice makes perfect. Keep drawing and exploring new techniques. Soon, you’ll create stunning Monstera art to be proud of. Happy drawing!
Leave a Reply